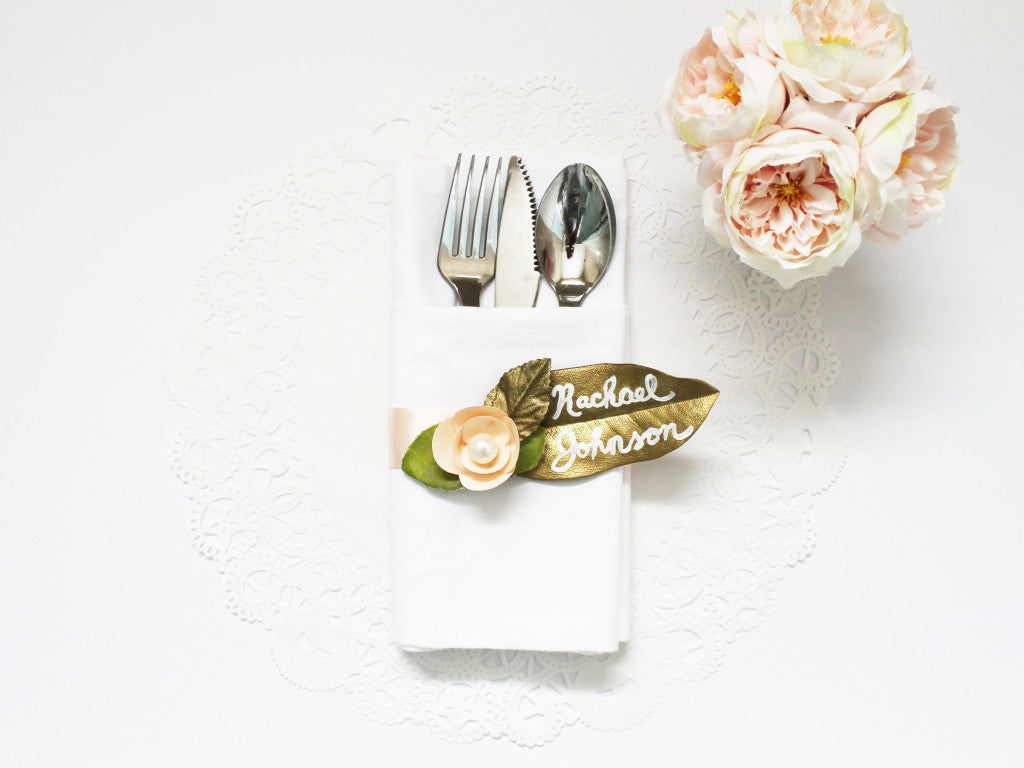
 Supplies:
-colored paper of your choice
-quarter or 1 inch circle stencil
-outdoor leaves (I used magnolia leaves)
-fake green foliage
-gold or pearl berries
-gold spray paint
-glitter blast spray paint (optional)
-glue gun
-ribbon
-white paint and paint brush
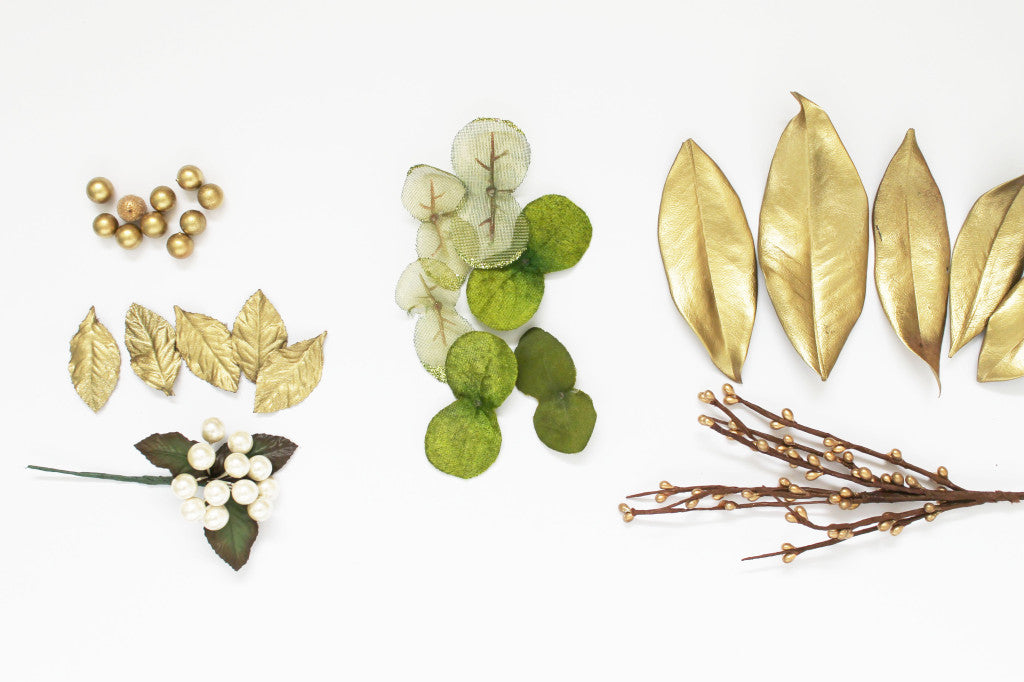
For my wedding name cards I really wanted to do something unique and also include flowers in the mix. I've been using a pale pink paper I really loved throughout my wedding invitation suite and decided to use that same paper to make these paper flowers. First thing I did was gather my supplies and tools. I used three different types of leaves for this project: small-ish gold leaves, medium-ish green foliage leaves and large magnolia leaves from my magnolia tree. The small gold leaves were originally green and I spray painted them gold with a blast of glitter. The magnolia leaves were dry and I also spray painted them gold with no glitter. It amazes me how beautiful they look gold! I also used both pearl berries and gold berries. And to add a extra dazzle, I added the glitter blast to the gold berries.
Here are some images of what the magnolia leaves looked like before I spray painted them, brown and crusty…but after a coat of gold paint, they look stunning. I put them in a piece of styrofoam to hold them in place while I painted them.

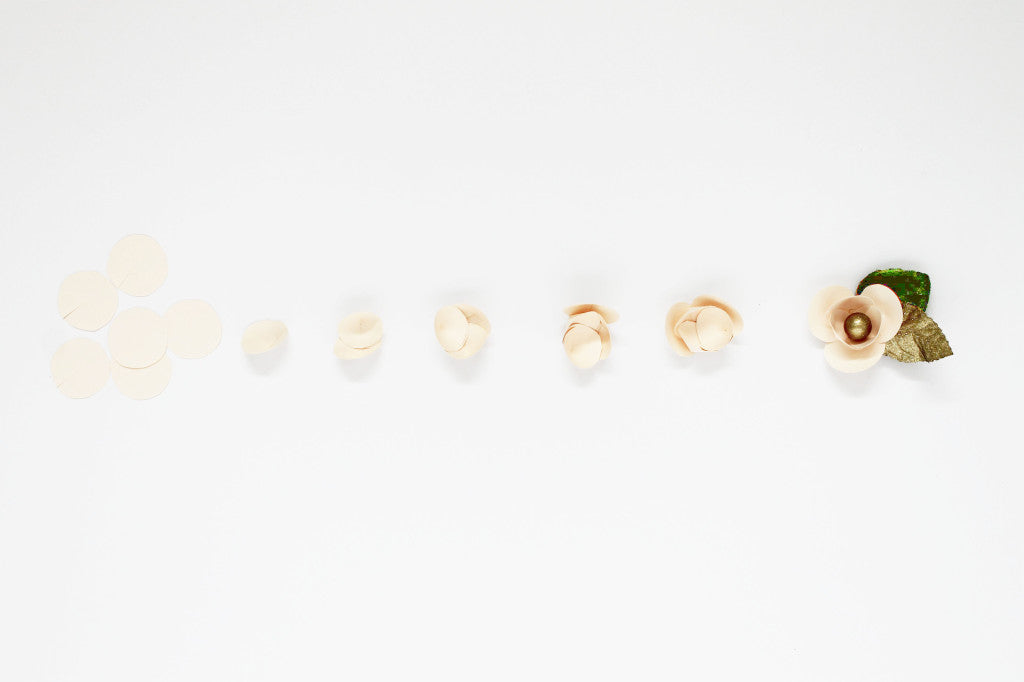
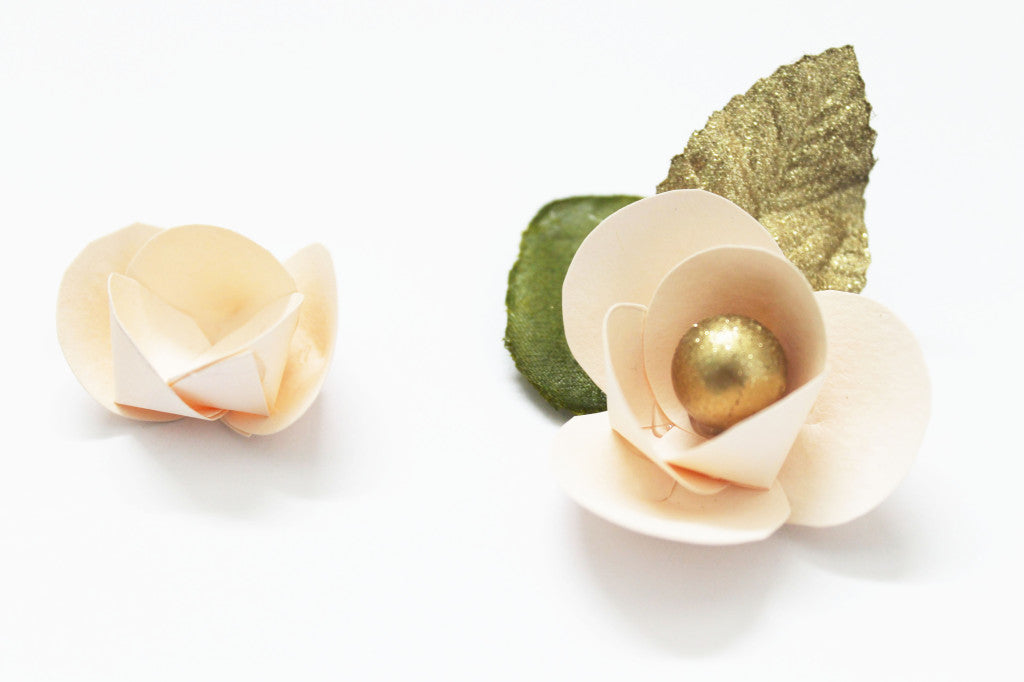
The picture above is the progression of the paper flower. For the paper flower, you'll need 6 - 1inch circles for each flower. Each circle gets a cut down the center, and you basically glue each one to make a small funnel, then take each 'funnel' and glue them into each other…this is detailed part, but the turnout is really beautiful! Just have patience.
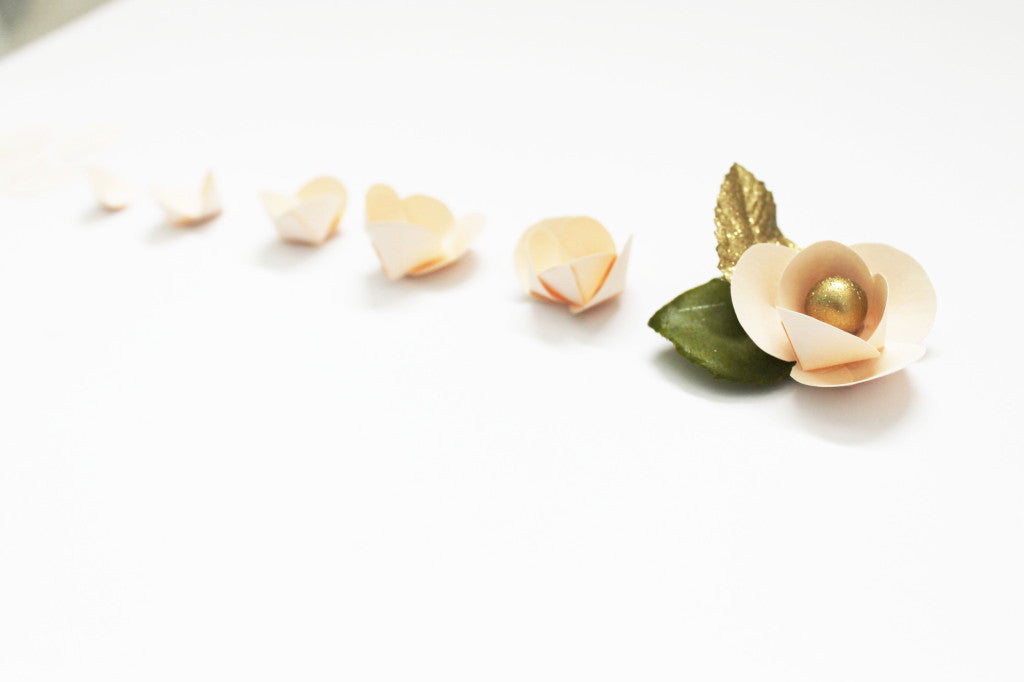
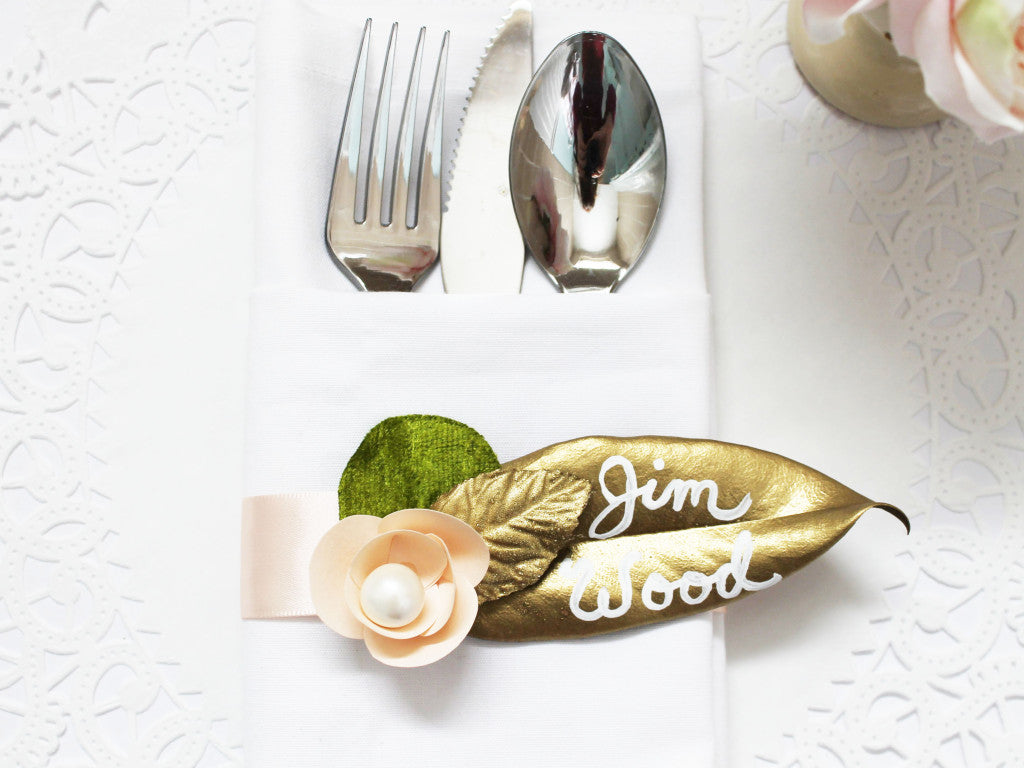
After you get all your flowers glued, you can glue you gold/pearl berry in the middle, small gold leaf next, green leaf and finally your large gold magnolia leaf. The magnolia leaf will serve as the name card for your guests. I then painted in white acrylic paint each guest name the gold leaf, this was my favorite part. I love that these name tags are not your typical tag, your guest feel extra special because they know each was personalized with their name.

After the names are painted, you can attach the entire name tag to a ribbon and then tie that onto you napkins. You can fold the napkins any way you'd like, but I choose to have the silverware showing.
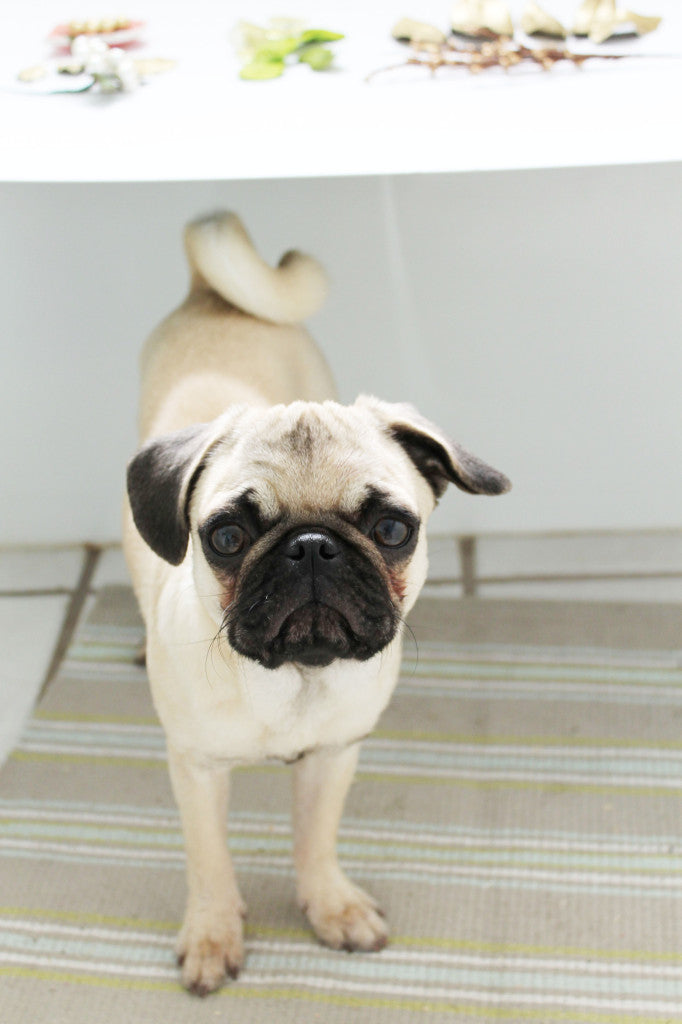
P.S. I had to include a picture of Sprinkles the pug…she was very interested in the project especially when I was taking the photos.
I hope you all enjoy!

 Supplies:
-colored paper of your choice
-quarter or 1 inch circle stencil
-outdoor leaves (I used magnolia leaves)
-fake green foliage
-gold or pearl berries
-gold spray paint
-glitter blast spray paint (optional)
-glue gun
-ribbon
-white paint and paint brush
 For my wedding name cards I really wanted to do something unique and also include flowers in the mix. I've been using a pale pink paper I really loved throughout my wedding invitation suite and decided to use that same paper to make these paper flowers. First thing I did was gather my supplies and tools. I used three different types of leaves for this project: small-ish gold leaves, medium-ish green foliage leaves and large magnolia leaves from my magnolia tree. The small gold leaves were originally green and I spray painted them gold with a blast of glitter. The magnolia leaves were dry and I also spray painted them gold with no glitter. It amazes me how beautiful they look gold! I also used both pearl berries and gold berries. And to add a extra dazzle, I added the glitter blast to the gold berries.
Here are some images of what the magnolia leaves looked like before I spray painted them, brown and crusty…but after a coat of gold paint, they look stunning. I put them in a piece of styrofoam to hold them in place while I painted them.
 The picture above is the progression of the paper flower. For the paper flower, you'll need 6 - 1inch circles for each flower. Each circle gets a cut down the center, and you basically glue each one to make a small funnel, then take each 'funnel' and glue them into each other…this is detailed part, but the turnout is really beautiful! Just have patience.

 After you get all your flowers glued, you can glue you gold/pearl berry in the middle, small gold leaf next, green leaf and finally your large gold magnolia leaf. The magnolia leaf will serve as the name card for your guests. I then painted in white acrylic paint each guest name the gold leaf, this was my favorite part. I love that these name tags are not your typical tag, your guest feel extra special because they know each was personalized with their name.
 After the names are painted, you can attach the entire name tag to a ribbon and then tie that onto you napkins. You can fold the napkins any way you'd like, but I choose to have the silverware showing.

 P.S. I had to include a picture of Sprinkles the pug…she was very interested in the project especially when I was taking the photos.
I hope you all enjoy!
Comments
Judy on June 09 2014 at 12:04AM
beautiful project!!
Michelle Guzman on June 09 2014 at 12:04AM
I absolutely LOVE this!! So beautiful!